Planking the Hull, pt 2.
December 9, 2015 - April 16, 2016
The second layer
My model came with strips of walnut wood (0.5mm thick) to add the wood finish to the hull. Thin strips of wood are fragile, but easier to bend and cut then the first layer planks. This, and the experience gained has made the process go much faster than the first layer of planking.Since this model has 2 layers you could be less precise on your first layer, but I myself was glad I spend the time learning to do it properly.
I soaked the planks just to be sure and did not encounter too many problems to be honest.
First the bullwark (that's the top bit)

Since I followed the advice of my big example Russell to add an extra plank to the bullwark so the guns would fit, I did order a bit of extra wood to make it work.


I then started planking from the bottom up, both sides.
This way the planks are pretty equal on both sides.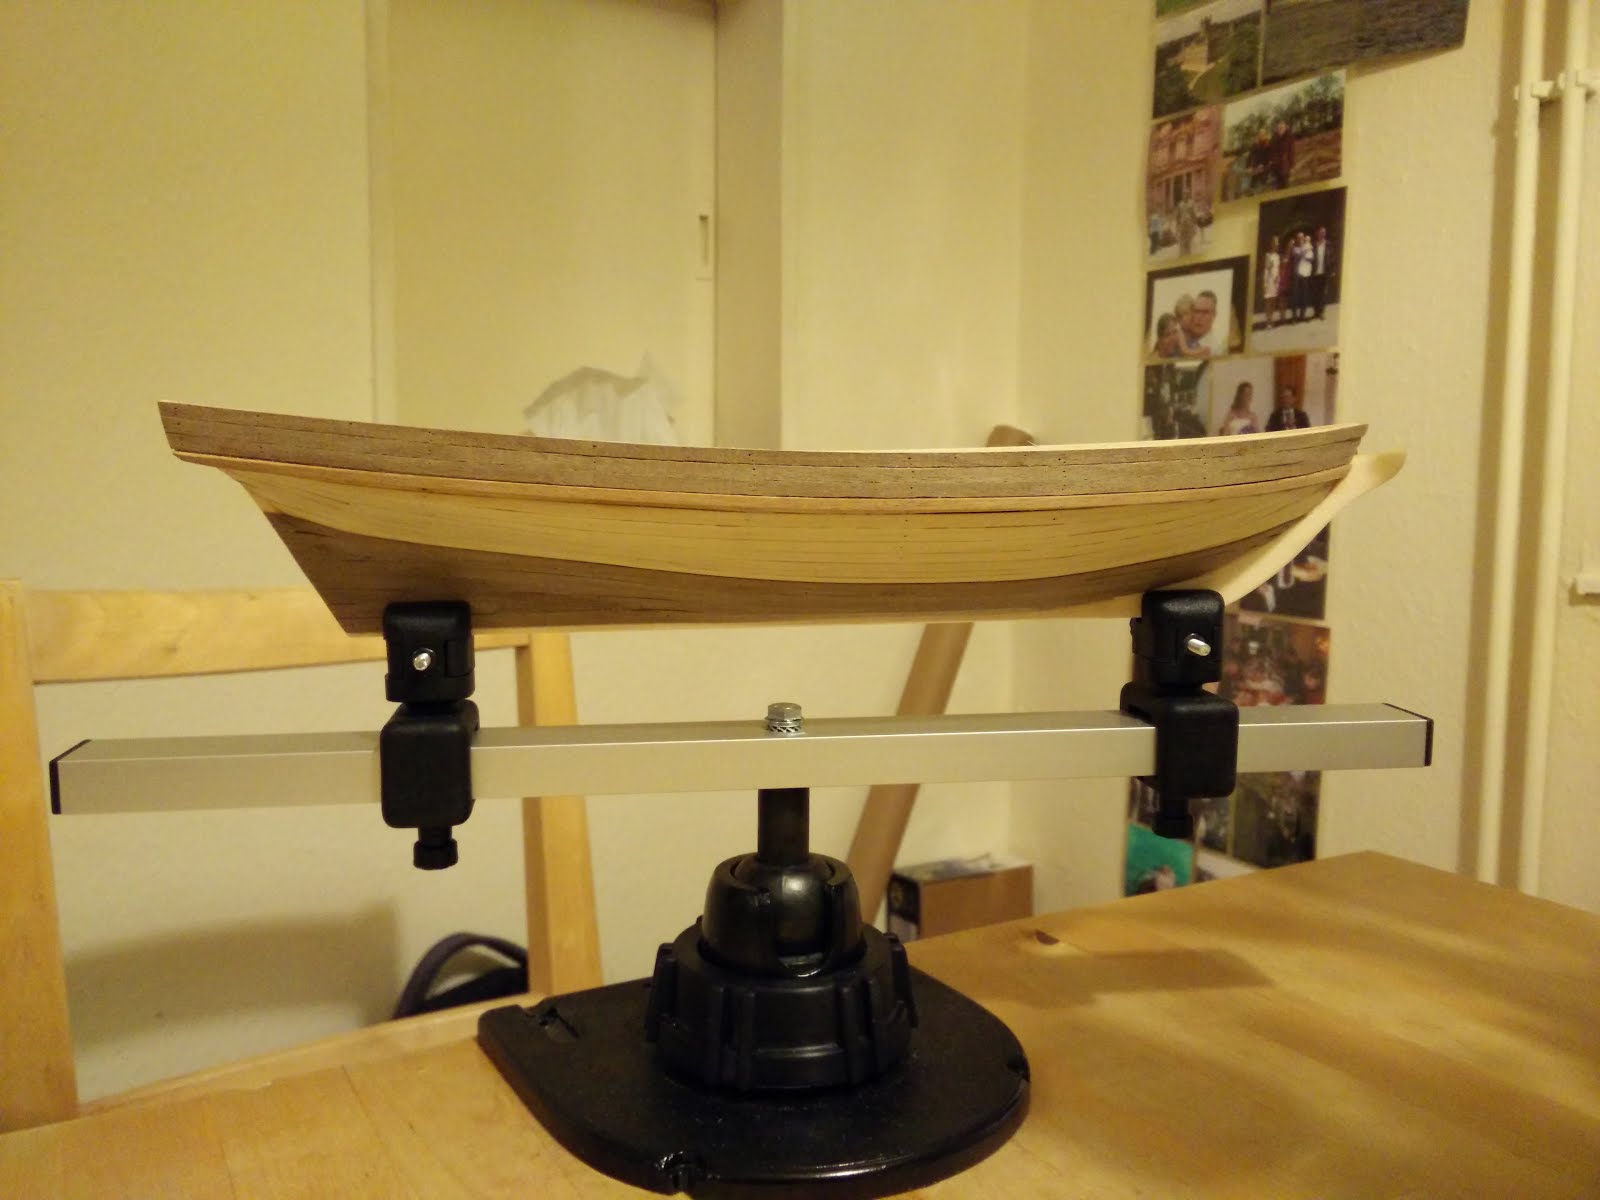

Finishing the last planks was a bit fiddly, but I got them to fit snugly.


After sanding it down for quite some time, you can still see the gaps between the planks and I decided to get some wood filler

Overall it went pretty smoothly, the next post will be about the deck planking. The time I spent working on the Black Prince is slowing down, and it will slow down even more I'm afraid. Having a baby eats up your spare time, simple as that...
Lessons learned:
- Use wood filler only on the parts you're planning to paint. I don't plan on painting the bullwark, but the filler is very plainly visible there. I should've added some colouring too it I guess.


Comments
Post a Comment